Installation
Install OpenNVR with one command — clone, run the launcher, answer a few prompts. Pre-built images from GHCR, no source build.
On this page
Installation Guide
Getting OpenNVR running is clone it, run one command, answer a few on-screen prompts. The launcher pulls pre-built images from GHCR (no source build, no toolchain), generates all secrets for you, and prints a one-time setup token at the end.
- Quick install (recommended). Run
./start.sh(or.\start.ps1) and press Enter through the prompts. Working stack in one command. - Manual / unattended. Drive Compose yourself — for CI boxes, configuration management, or pinning your own secret values.
- Build from source. Only if you’re modifying the code — see Local Development Setup.
All paths run the same Docker services: opennvr-core (backend + frontend + KAI-C), mediamtx, db (PostgreSQL), nats, nginx, and the YOLOv8 AI adapter.
Prerequisites
Install Docker with Compose v2:
- Windows / macOS — Docker Desktop; wait for it to report “Docker is running.”
- Linux — Docker Engine 24+ with Compose v2:
curl -fsSL https://get.docker.com | sudo sh
sudo usermod -aG docker $USER && newgrp docker
docker compose version   # confirm Compose v2 is present
You’ll also want a camera with ONVIF or RTSP support — most modern IP cameras qualify, and phone-webcam apps like IP Webcam work for testing. Budget about 8 GB RAM and 20 GB free disk (most of it AI model weights).
Quick install (recommended)
git clone https://github.com/open-nvr/open-nvr.git
cd open-nvr
./start.sh            # Windows: .\start.ps1
That’s the only command you run. On a fresh checkout the launcher opens an interactive installer. Every question shows a sensible default in [brackets] — press Enter to accept it, or type a value to change it. Nothing needs an account, an API key, or the cloud.
  OpenNVR interactive installer
  ✓ Detected Windows (Docker bridge mode)

  -- Basic settings -------------------------------------
  Administrator username [admin]:
  Administrator email [admin@opennvr.local]:
  Recordings folder on this machine [C:/opennvr/recordings]:

  -- Example app ----------------------------------------
  Set up an example app now? [y/N]: y
   3. camera-agent   [installable: docker-compose.camera-agent.yml]
   0. Core stack only
  Select an example [0]: 3
The installer then generates all secrets, downloads the images (and, if you chose the Camera Agent, a ~1 GB local model), and starts everything.
[!NOTE] First run takes 8–15 minutes depending on your network — it’s downloading container images and, optionally, the AI model. Later starts are much faster because everything is cached.
Open the URL and paste the token
When it finishes, the launcher prints the access URLs and a one-time setup token as the very last thing:
  ✓ OpenNVR is running!
  Web UI (local) → http://localhost:8000  (login: admin)
  Web UI (HTTPS) → https://localhost/
  Camera Agent   → http://localhost:9100/demo   (only if you chose it)

  🔑 First-time setup token (one-time use — copy into the UI):
aXyZ_pasteThisIntoTheBrowser_4cFiRsT-tImE-sEtUp- Open the printed URL on any device on your LAN.
- Accept the self-signed cert warning once (for the HTTPS URL) — Advanced → Accept the risk and continue. The cert lives in
./nginx-certs/on the host and never leaves the machine. - Paste the token, set an admin password, add a camera. Detection overlays appear within ~30 seconds.
Running it again
Run ./start.sh (or .\start.ps1) any time. If it’s already set up, it asks whether to start with your current config or reconfigure. To skip the question, pass a subcommand:
| Situation | Command |
|---|---|
| Start without the reconfigure prompt | ./start.sh up |
| Re-print the setup token | ./start.sh token |
| Change settings or swap the example | ./start.sh reconfigure |
| Your LAN IP changed (DHCP, moved boxes) | ./start.sh refresh-certs |
| Stop everything | ./start.sh down |
| Tail live logs | ./start.sh logs |
| Check container status | ./start.sh status |
| Pick up new GHCR images after an upgrade | docker compose pull && ./start.sh up |
Manual / unattended install
Prefer to skip the interactive wizard — pin specific secret values, run unattended on a CI box, or deploy from configuration management?
git clone https://github.com/open-nvr/open-nvr.git
cd open-nvr
cp .env.example .env
./scripts/generate-secrets.sh --write          # Windows: .\scripts\generate-secrets.ps1 -Write
docker compose -f docker-compose.yml up -d
The generate-secrets script writes cryptographically random values into .env for the four secrets the core validates at boot — SECRET_KEY, CREDENTIAL_ENCRYPTION_KEY, INTERNAL_API_KEY, MEDIAMTX_SECRET — plus the PostgreSQL password. There are no shipped default credentials: the core refuses to boot if any of those four is a placeholder.
On first start the core prints a setup token to its log. Grab it:
docker compose -f docker-compose.yml logs opennvr-core | grep -i 'setup token'Open http://localhost:8000, paste the token, choose an admin username and password, and add a camera.
[!TIP] Bare
docker compose up -dworks, but you lose what the launcher adds: NIC topology auto-detect, the security-posture banner, and automatic surfacing of the one-time setup token. Prefer./start.sh upunless you specifically need raw Compose.
Talk to your cameras — the camera-agent overlay
Once the core stack is up, layer on the voice/chat agent so you can ask your cameras questions. The easiest path is the example’s quickstart:
examples/camera-agent/quickstart.sh          # voice: click Start and speak
examples/camera-agent/quickstart.sh --chat   # chat: type and read (no mic/speaker)
examples/camera-agent/quickstart.sh --down   # stop
Or drive Compose yourself with the overlay and its profile:
# Pull the LLM the agent uses (~2 GB, one-time)
docker compose -f docker-compose.yml \
               -f docker-compose.camera-agent.yml \
               --profile camera-agent run --rm ollama-model-pull

# Bring up the overlay
docker compose -f docker-compose.yml \
               -f docker-compose.camera-agent.yml \
               --profile camera-agent up -d
Open http://localhost:9100/demo, click Start, and ask “is there a person at the front door?” — Whisper transcribes, a local Ollama LLM calls YOLOv8 and BLIP on a live frame, and Piper speaks the answer back. All on your hardware.
Verify
docker compose -f docker-compose.yml psNAME STATUS
opennvr_core Up (healthy)
opennvr_db Up (healthy)
opennvr_mediamtx Up (healthy)
opennvr_nats Up (healthy)
opennvr_yolov8_adapter Up (healthy)
opennvr_yolov8_weights_init Exited (0) # one-shot, done
opennvr_mediamtx_certs_init Exited (0) # one-shot, doneThe two Exited (0) rows are correct — they’re init containers that finish once their setup work is done (YOLOv8 weight export, MediaMTX cert generation).
Access the Web UI
| Service | URL |
|---|---|
| Web UI | http://localhost:8000 |
| Web UI (HTTPS via nginx) | https://localhost/ |
| API docs (OpenAPI / Swagger) | http://localhost:8000/docs |
| MediaMTX HLS playback | http://localhost:8888 |
| MediaMTX WebRTC | http://localhost:8889 |
On first boot you’re redirected to First-Time Setup, where you paste the setup token and set the admin password before reaching the dashboard.
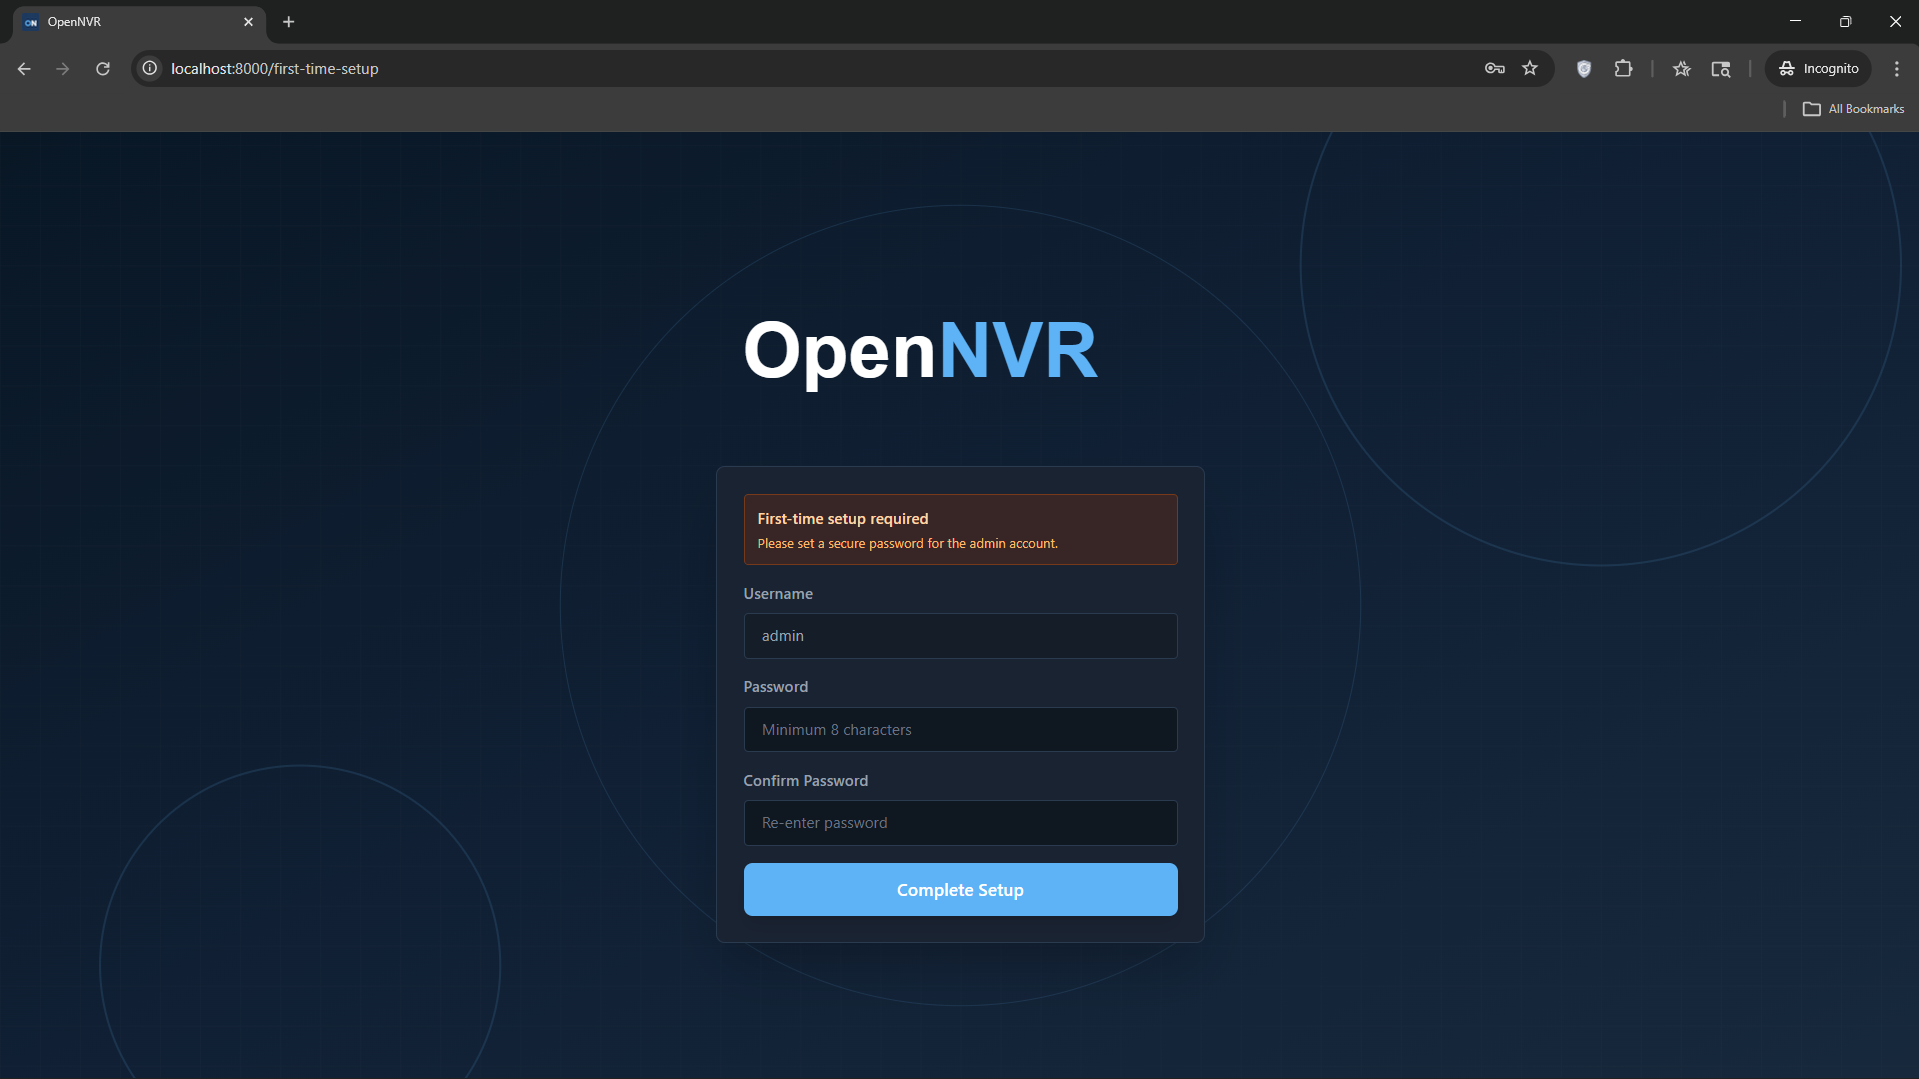
[!WARNING] OpenNVR enforces strong-password requirements and there are no default credentials. Keep your admin password safe — it lives in the database, not in
.env.
Compose file reference
The repo ships one base stack plus optional overlays. Combine the base with an overlay using repeated -f flags and the overlay’s --profile.
| File | What it is | How to use |
|---|---|---|
docker-compose.yml |
Core stack — Postgres, MediaMTX, NATS, the YOLOv8 adapter, detect-pipeline (the always-on Tier-0 detector), opennvr-core (backend + frontend + KAI-C), and nginx. |
docker compose -f docker-compose.yml up -d |
docker-compose.apps.yml |
Detector apps overlay — the example SDK apps (intrusion, loitering, LPR, …). | add -f docker-compose.apps.yml --profile apps |
docker-compose.camera-agent.yml |
Camera-agent overlay — the voice/chat agent plus its Whisper / Piper / caption / Ollama adapters. | add -f docker-compose.camera-agent.yml --profile camera-agent (or camera-agent-chat) |
docker-compose.installer.yml |
App-installer — the privileged reconciler for one-click App Catalog installs. Opt-in only. | add -f docker-compose.installer.yml --profile app-installer |
MediaMTX config lives in mediamtx.docker.yml (mounted into the container); mediamtx.yml / mediamtx.local.yml are only for running MediaMTX outside Docker.
Common commands
# Tail logs (all services, or one)
docker compose -f docker-compose.yml logs -f
docker compose -f docker-compose.yml logs -f opennvr-core

# Refresh to the latest published images
docker compose -f docker-compose.yml pull
docker compose -f docker-compose.yml up -d

# Restart a single service after editing .env
docker compose -f docker-compose.yml restart opennvr-core

# Stop everything
docker compose -f docker-compose.yml down
Network & camera discovery
OpenNVR runs on Docker bridge networking on every OS — no host-networking requirement. Cameras are discovered through explicit IPs or an operator-approved unicast subnet scan (ONVIF), so discovery works the same in bridge mode on Windows, macOS, and Linux. You can always add a camera by its RTSP URL when discovery isn’t available.
Recording storage is mapped via RECORDINGS_PATH in .env (defaults to ./recordings). Set an absolute path for production, e.g. RECORDINGS_PATH=/var/lib/opennvr/recordings, then re-run docker compose -f docker-compose.yml up -d to remount. See Storage Mapping.
Next steps
- Add a camera → Cameras → Add (ONVIF discovery, or RTSP URL). See Cameras & Retention.
- Configure AI detection → AI Models (YOLOv8 is on by default). See AI Models (BYOM).
- Set retention → per-camera recording settings (default 7 days).
- Talk to your cameras → add the camera-agent overlay.
- Build something → start from a shipped example in the ai-adapter repo.