First-Time Setup & MFA
Bootstrap the admin account with the one-time setup token, enroll a mandatory authenticator (TOTP), and sign in — the full account setup flow for a fresh OpenNVR install.
On this page
First-Time Setup is how you claim the admin account on a brand-new OpenNVR install. There are no default credentials — instead the core prints a one-time setup token to its log on first start, and you paste that token into the setup screen to create the admin. After the account is created, MFA enrollment is mandatory before you can reach the app.
[!IMPORTANT] The setup token exists to close a bootstrap race: without it, anyone on the LAN could claim the admin role in the window between the server coming up and you finishing setup. Only the operator with access to the server terminal can complete setup.
What you can do here
- Create the single admin account using the one-time setup token from the server log.
- Set the admin password (minimum 8 characters).
- Enroll a TOTP authenticator app — this is required, not optional.
- Sign in normally afterward from the login page.
Create the admin account (/first-time-setup)
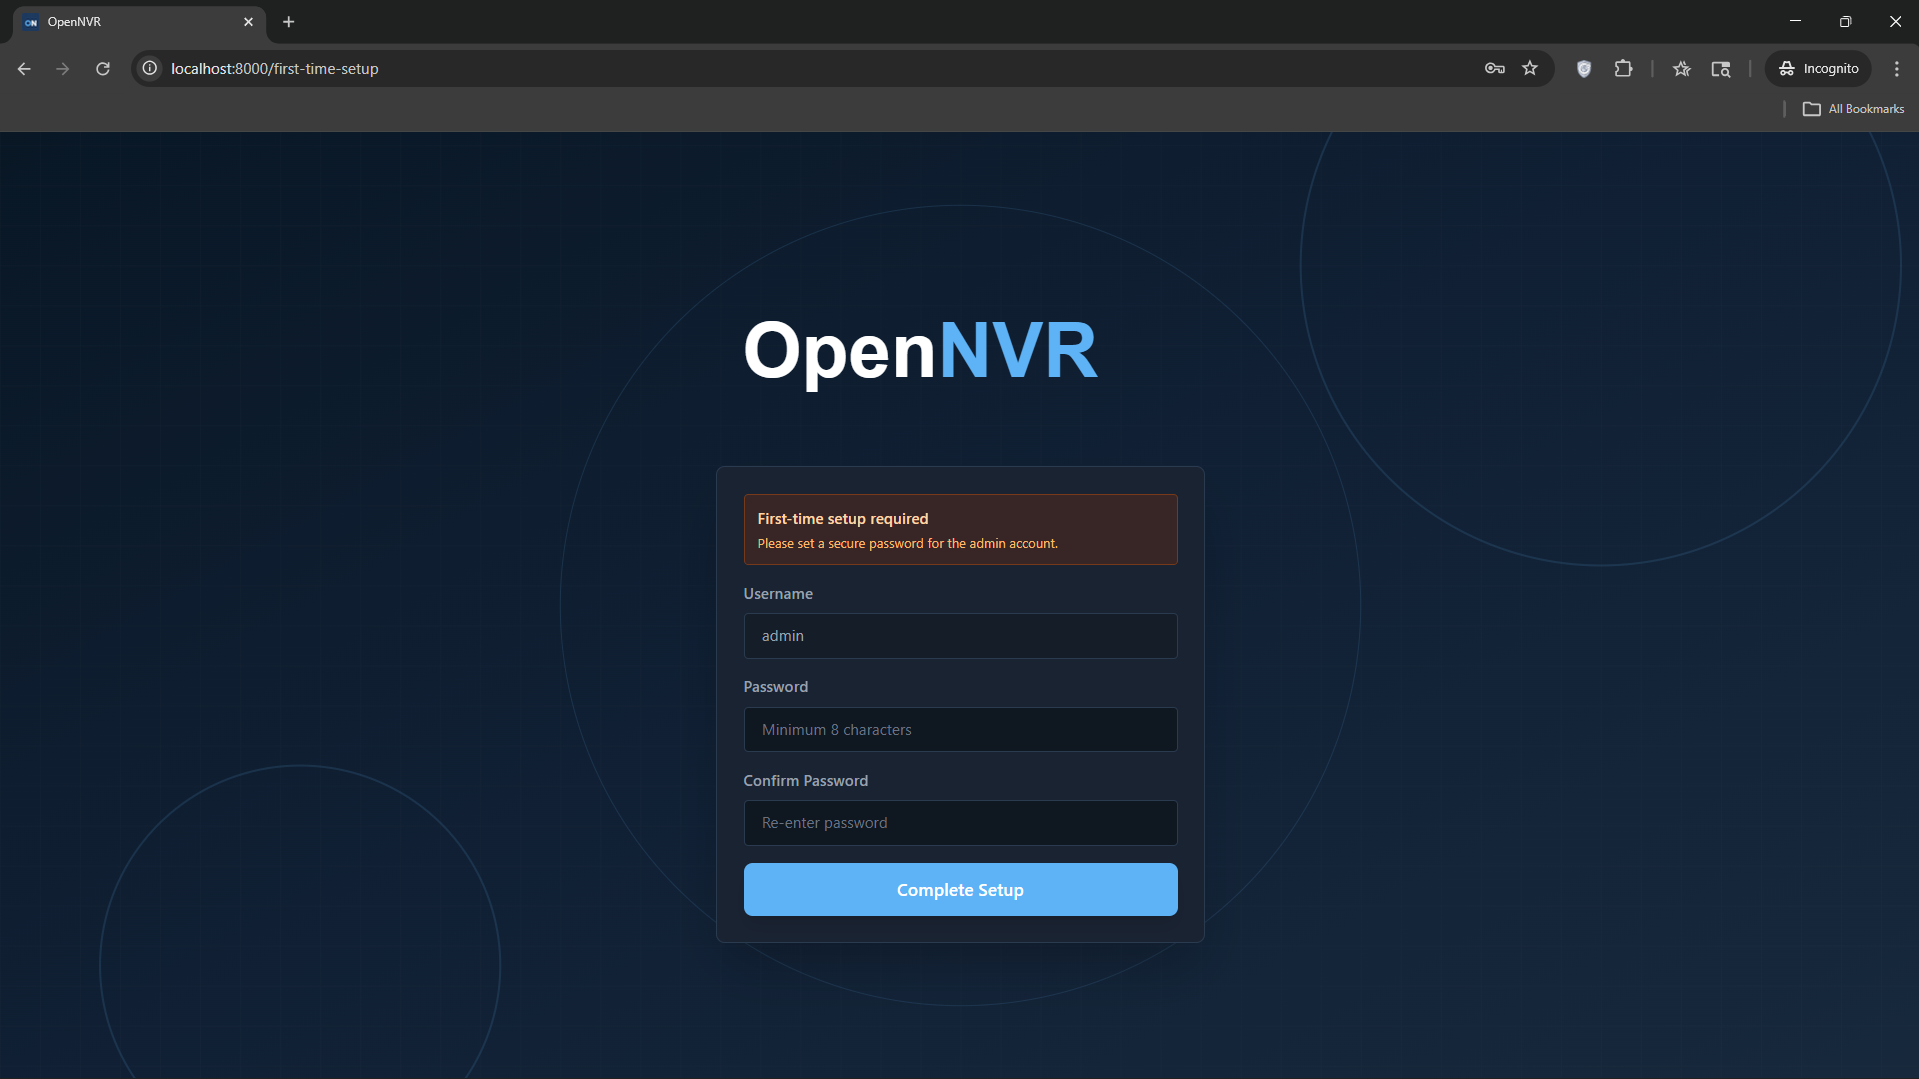
On first launch the app redirects you to /first-time-setup. A “First-time setup required” banner tells you to paste the token from the server stdout.
- Find the setup token in the terminal where you ran the start script — it is printed once on server startup.
- Paste it into the Setup token field.
- The Username is fixed to
admin(the field is disabled). - Enter a Password (minimum 8 characters) and re-enter it in Confirm Password.
- Click Complete Setup.
If the token is missing or wrong, setup fails with “Setup token is required. Find it in the server terminal output.” Passwords under 8 characters or mismatched confirmations are rejected client-side.
Fields
| Field | Required | Example | Notes |
|---|---|---|---|
| Setup token | ✓ | (paste from server stdout) | Printed once on server startup; find it in the start-script terminal |
| Username | — | admin |
Fixed to admin; the field is read-only |
| Password | ✓ | Minimum 8 characters |
Must be at least 8 characters |
| Confirm Password | ✓ | Re-enter password |
Must match Password |
[!WARNING] The setup token is shown only once. If you miss it, restart the core and read the fresh startup banner in the terminal.
Enroll MFA (/mfa-setup)
As soon as the admin is created, the screen switches to MFA Setup Required with the message “Setup Complete! Now configure MFA.” MFA is enforced app-wide — the app forces you to the MFA setup screen whenever a signed-in user does not yet have MFA enabled, so you cannot skip it.
- Install an authenticator app (Google Authenticator, Authy, etc.).
- Scan the QR code shown on screen. If your app can’t scan, use the Manual Entry Code (the base32 secret printed below the QR).
- Enter the 6-digit code from the authenticator in the Authenticator Code field.
- On the standalone
/mfa-setuppage the button is Verify and continue; in the first-time flow, click Continue to Login after scanning.
[!NOTE] Save your recovery codes if prompted, and keep the authenticator device safe. If you lose access to your MFA device, contact an administrator — there is no self-service reset.
Sign in (/login)
Once the account and MFA exist, everyday access is through the login page.
- Enter your Username (e.g.
admin) and Password. - Click Sign in.
- If MFA is required, you’re taken to Two-factor verification (
/mfa-verify) — enter the 6-digit code from your authenticator and click Verify.
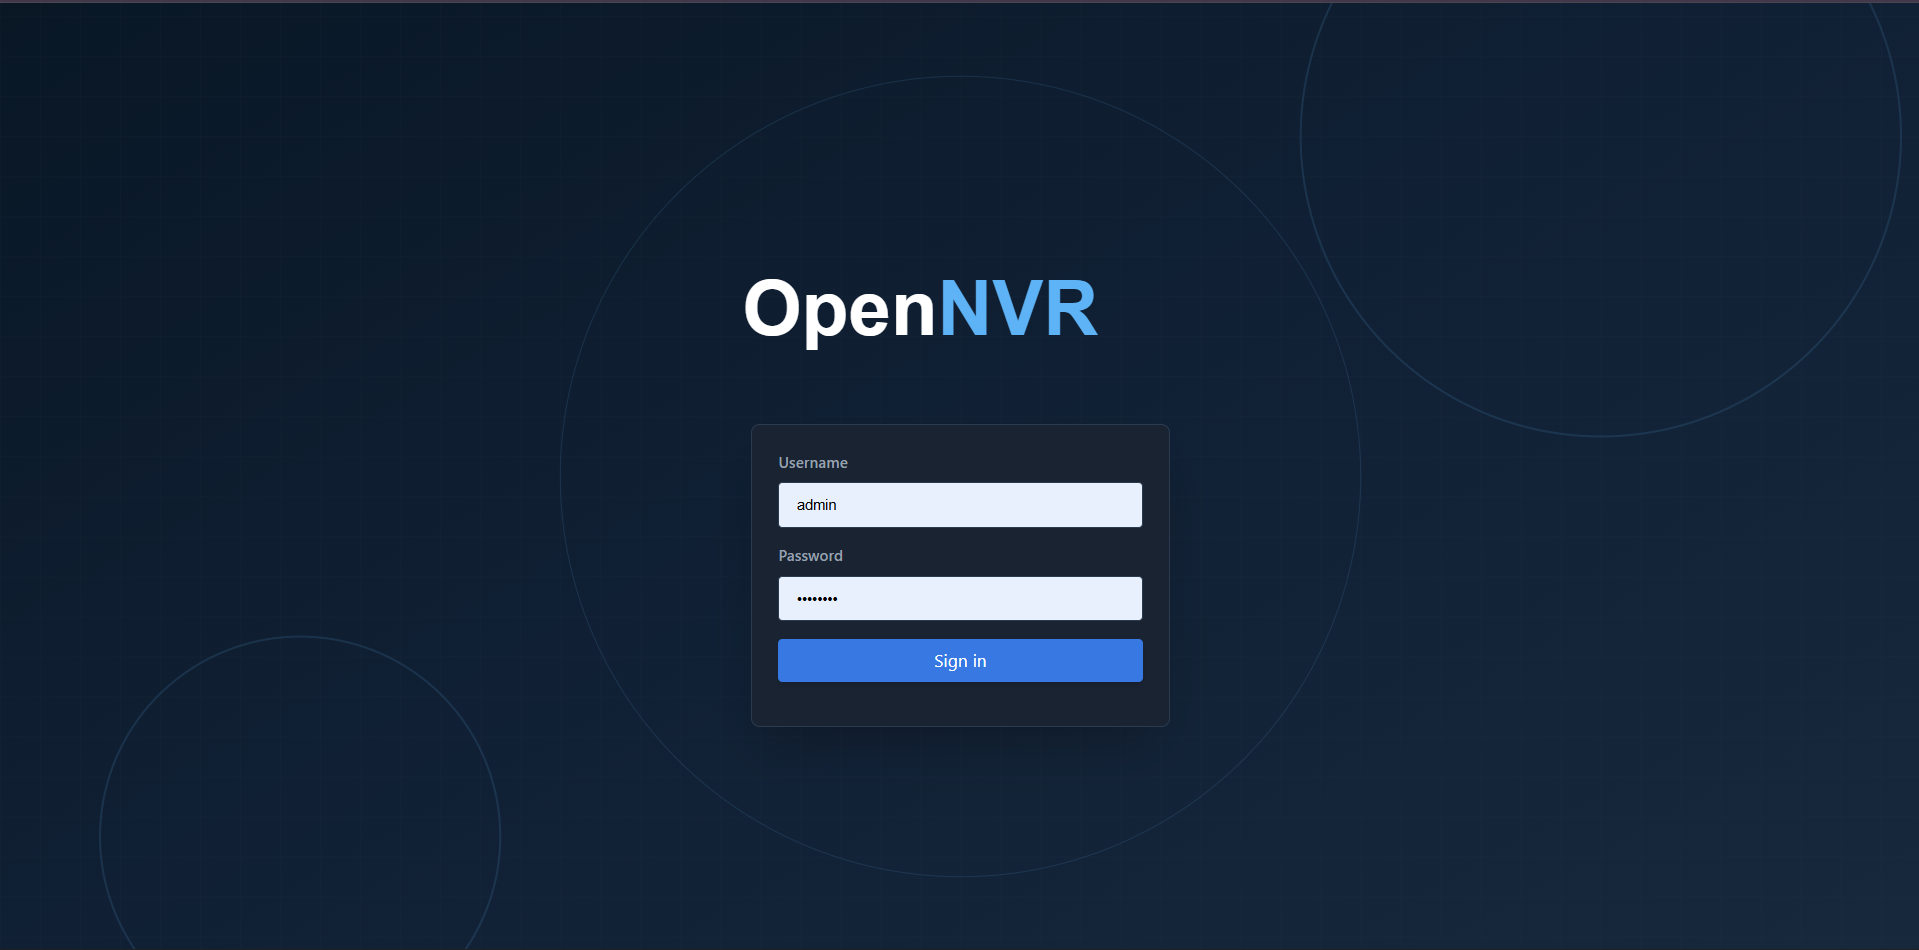
[!NOTE] After too many failed attempts the account is temporarily locked. Both the login and verification screens show a countdown (“Too many failed attempts. Try again in …”) and disable the button until it expires.
The /register route exists for creating an additional account (Username, Email, Password, Confirm password), but a single OpenNVR deployment is designed around one admin account created through First-Time Setup — you normally won’t use registration.
📸 Screenshots to capture
Save to opennvr-site/public/screenshots/ with these exact filenames:
account-mfa-setup.png— the MFA Setup Required screen showing the QR code and the Manual Entry Code.account-mfa-verify.png— the Two-factor verification (/mfa-verify) screen with the MFA Code field.