AI Models (BYOM)
Register your own AI models against live cameras or recordings, run inference, and connect Hugging Face cloud models with the Cloud AI dialog.
On this page
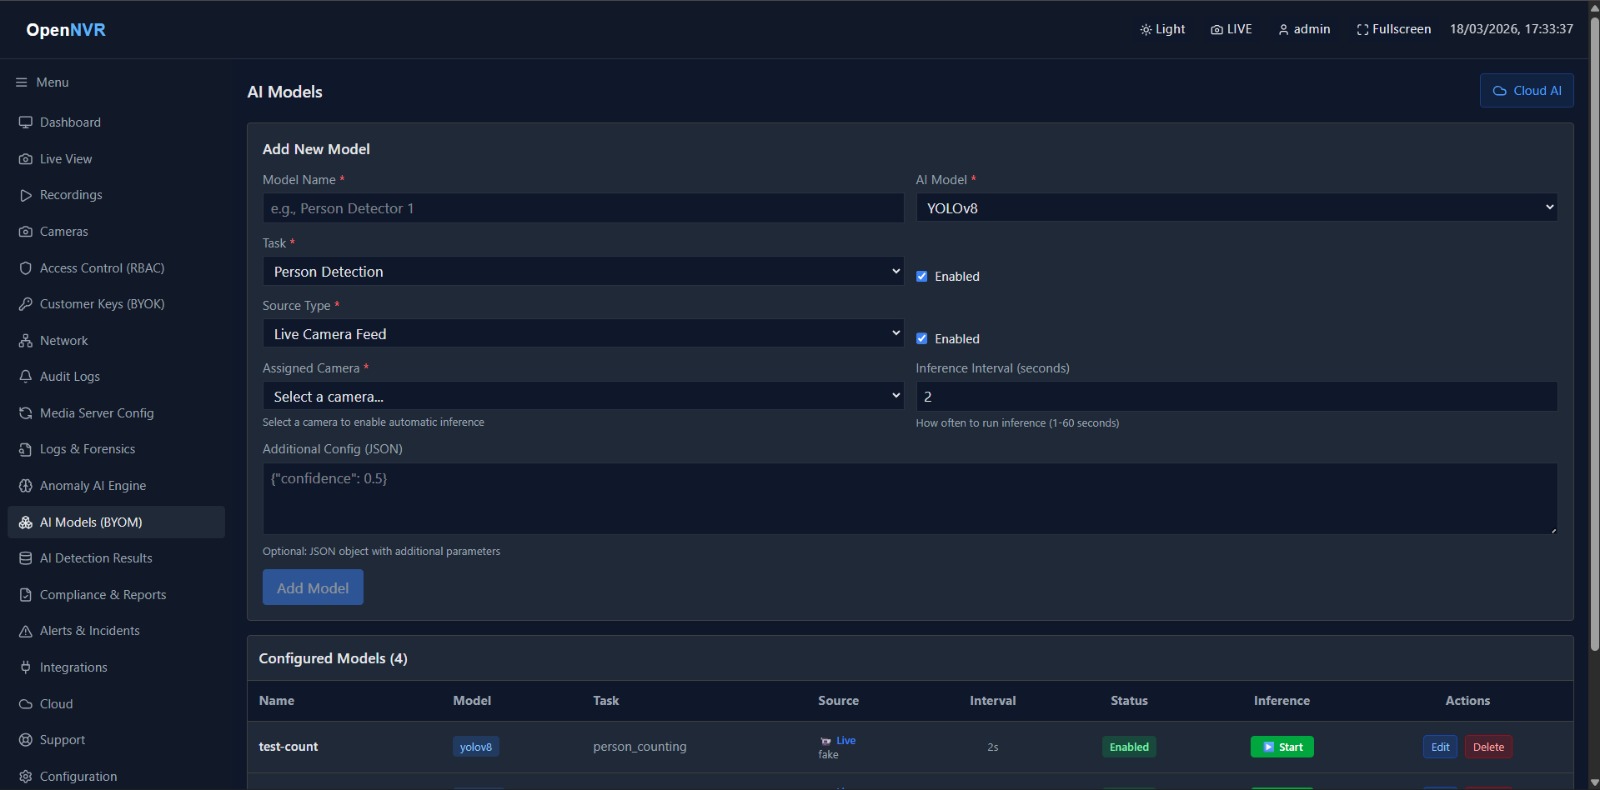
AI Models (BYOM — Bring Your Own Model) is where you register a model, point it at a live camera or a recording, and start inference. You’ll find it under AI & Detections → AI Models (BYOM) in the sidebar.
[!NOTE] This tab requires the
byom.managepermission. Creating, editing, deleting, and running models is superuser-only — non-admins can view the list but the form and action buttons are disabled.
[!IMPORTANT] The Cloud AI dialog on this page (Hugging Face inference for individual models) is not the same as the top-level Cloud tab, which handles RTMP restreaming and S3 upload of recordings. For that, see Cloud.
What you can do here
- Add a model that runs one of the local adapters (YOLOv8, YOLOv11, BLIP, InsightFace) or a configured cloud model.
- Assign a task (person detection, counting, scene description, face detection/recognition/verification, watchlist check).
- Point a model at a live camera feed or a recorded video.
- Start / Stop live inference, or Analyze a recording as a one-time job.
- Enable/disable, edit, or delete configured models.
- Manage Cloud AI credentials and cloud model definitions (Hugging Face).
Detections produced by a running model appear on the Detection Results page.
Add or edit a model
- In the Add New Model form, enter a Model Name (placeholder
e.g., Person Detector 1). - Pick an AI Model from the dropdown — see the model list below. Enabled cloud models appear under a separate ☁️ Cloud Models group.
- Pick a Task (see the task list below).
- Leave Enabled ticked.
- Choose a Source Type: Live Camera Feed or Recorded Video.
- Fill in the source-specific fields (see below).
- Optionally add Additional Config (JSON) — placeholder
{"confidence": 0.5}. - Click Add Model (or Update Model when editing; Cancel exits edit mode).
To edit an existing model, click Edit in its table row — the form scrolls into view pre-filled. To remove one, click Delete (asks for confirmation).
AI Model options
| Value | Label (shown in dropdown) |
|---|---|
default |
YOLOv8 |
yolov11 |
YOLOv11 |
blip |
BLIP (Image Captioning) |
insightface |
InsightFace (Face Recognition) |
[!NOTE] The YOLOv8 option submits the value
default— that is the KAI-C adapter slot the YOLOv8 adapter occupies, not a placeholder. Governed inference routes on the slot name, so the label and stored value intentionally differ.
Task options
person_detection (Person Detection), person_counting (Person Counting), scene_description (Scene Description), face_detection (Face Detection), face_recognition (Face Recognition), face_verify (Face Verification), watchlist_check (Watchlist Check).
Fields
| Field | Required | Example | Notes |
|---|---|---|---|
| Model Name | ✓ | Person Detector 1 |
Free-text label |
| AI Model | ✓ | YOLOv8 |
Local adapter or an enabled cloud model |
| Task | ✓ | Person Detection |
One of the tasks above |
| Enabled | — | (checked) | Model is active |
| Source Type | ✓ | Live Camera Feed |
Live feed or recorded video |
| Additional Config (JSON) | — | {"confidence": 0.5} |
Optional JSON of extra params; validated on save |
Run against a live camera
When Source Type is Live Camera Feed:
- Pick a camera in Assigned Camera (cameras with no RTSP URL are flagged
(No RTSP URL)). - Set Inference Interval (seconds) — how often to run inference, 1–60 (default
2). - Save the model.
- In the models table, use the ▶ Start / ⏹ Stop button in the Inference column to toggle live inference. A running model shows ● Running.
Fields
| Field | Required | Example | Notes |
|---|---|---|---|
| Assigned Camera | ✓ | Select a camera to enable automatic inference | |
| Inference Interval (seconds) | — | 2 |
1–60 seconds |
Run against a recording
When Source Type is Recorded Video:
- Click Browse next to Recording File to open the recording browser and select a session/segment. The path fills in and shows
✓ Recording selected: …. - Save the model.
- In the table, click 🎬 Analyze to start a one-time analysis job (shows ● Processing while it runs, and ⏹ Stop to cancel).
Recording analysis runs in the background; when it finishes you’ll see “Recording analysis completed! Check AI Detection Results page.”
[!WARNING] You must select a recording via Browse — an empty or invalid recording path is rejected on save.
Cloud AI (Hugging Face)
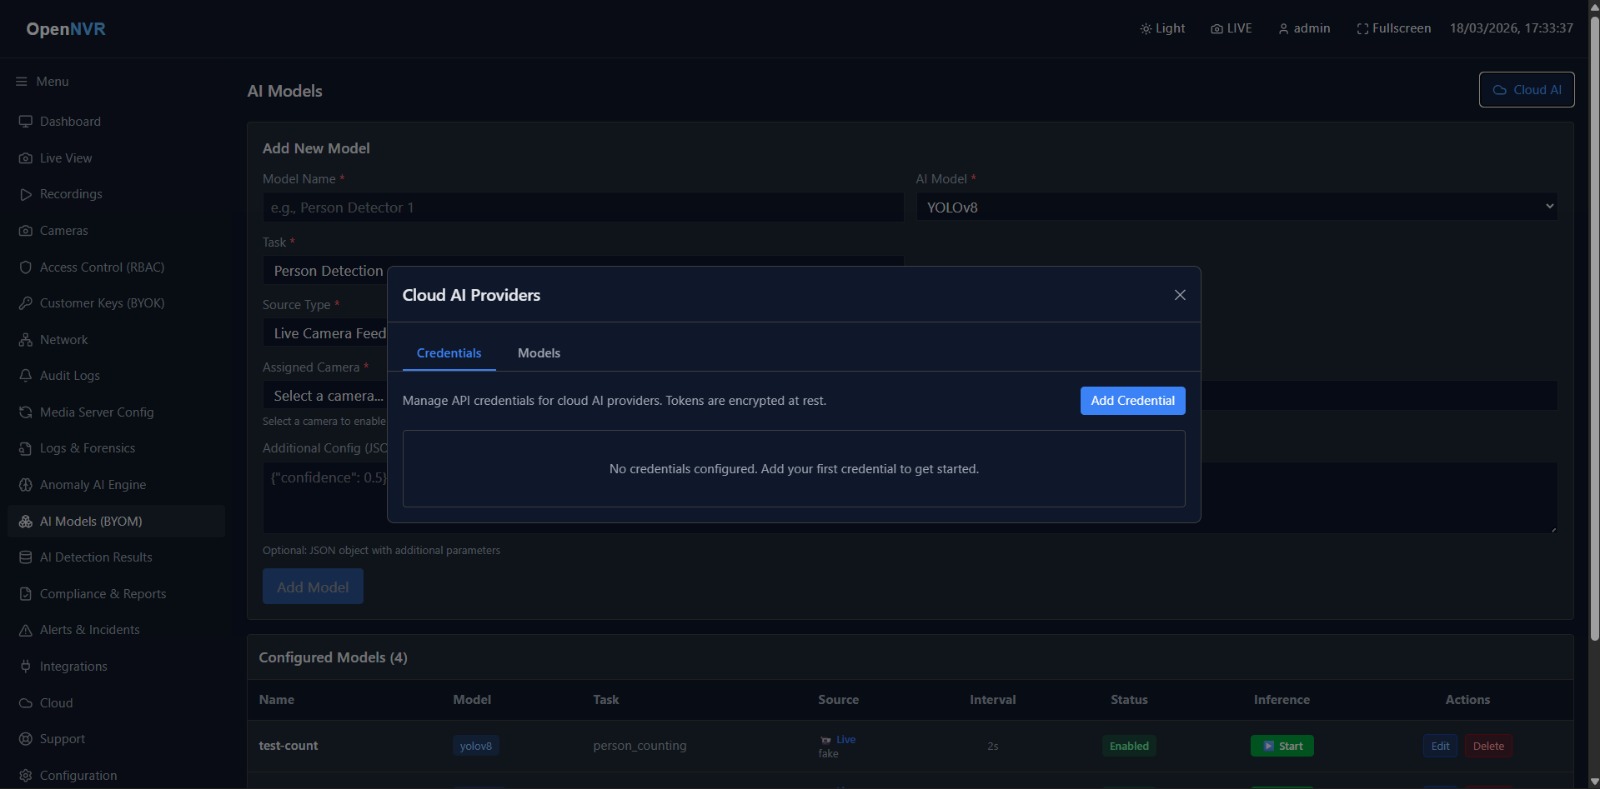
Click the Cloud AI button (top-right of the tab) to open the Cloud AI Providers dialog. It has two tabs: Credentials and Models. Cloud models you configure here become selectable in the model form’s ☁️ Cloud Models group.
Add a credential
- On the Credentials tab, click Add Credential.
- Choose a Provider —
Hugging Face. - Paste your API Token (placeholder
hf_xxxxxxxxxxxxxxxxxxxx). Tokens are encrypted at rest. - Optionally add Account Info (JSON, optional) — placeholder
{"email": "user@example.com"}. - Click Add.
Deleting a credential also deletes any models linked to it (you’re warned first).
| Field | Required | Example | Notes |
|---|---|---|---|
| Provider | ✓ | Hugging Face |
Only Hugging Face is offered today |
| API Token | ✓ | hf_... |
Encrypted at rest |
| Account Info (JSON, optional) | — | {"email": "user@example.com"} |
Free-form metadata |
Configure a cloud model
- On the Models tab, click Add Model (disabled until at least one credential exists).
- Select a Credential.
- Enter a Model Name (placeholder
My BLIP Model). - Enter a Model ID (placeholder
Salesforce/blip-image-captioning-base). - Pick a Task:
Image to Text,Image Classification,Object Detection, orText Generation. - Optionally add Config (JSON) — placeholder
{"num_beams": 5}. - Leave Enabled ticked, then click Add.
| Field | Required | Example | Notes |
|---|---|---|---|
| Credential | ✓ | Links the model to a saved token | |
| Model Name | ✓ | My BLIP Model |
Free-text label |
| Model ID | ✓ | Salesforce/blip-image-captioning-base |
Hugging Face model repo id |
| Task | ✓ | Image to Text |
One of the four cloud tasks |
| Config (JSON) | — | {"num_beams": 5} |
Optional inference params |
| Enabled | — | (checked) | Only enabled cloud models appear in the model form |
📸 Screenshots to capture
The two existing screenshots (ai byom.jpeg and cloud ai byom.jpeg) are reused above. Optionally add:
byom-model-form-live.png— the Add New Model form with Live Camera Feed selected, a camera assigned, and interval2.byom-models-table.png— the Configured Models table with a running model showing ● Running.