Live View
Watch cameras in a multi-camera grid and add new cameras with the Discover / Manual / Existing dialog — the real Add Camera flow, field by field.
On this page
Live View is the multi-camera wall at /live, under NVR → Live View in the sidebar. It plays your cameras in a resizable grid and is where you add cameras through the Add Camera dialog. Viewing Live View requires the live.view permission; the + Add Camera tile and dialog only appear for users with cameras.manage.
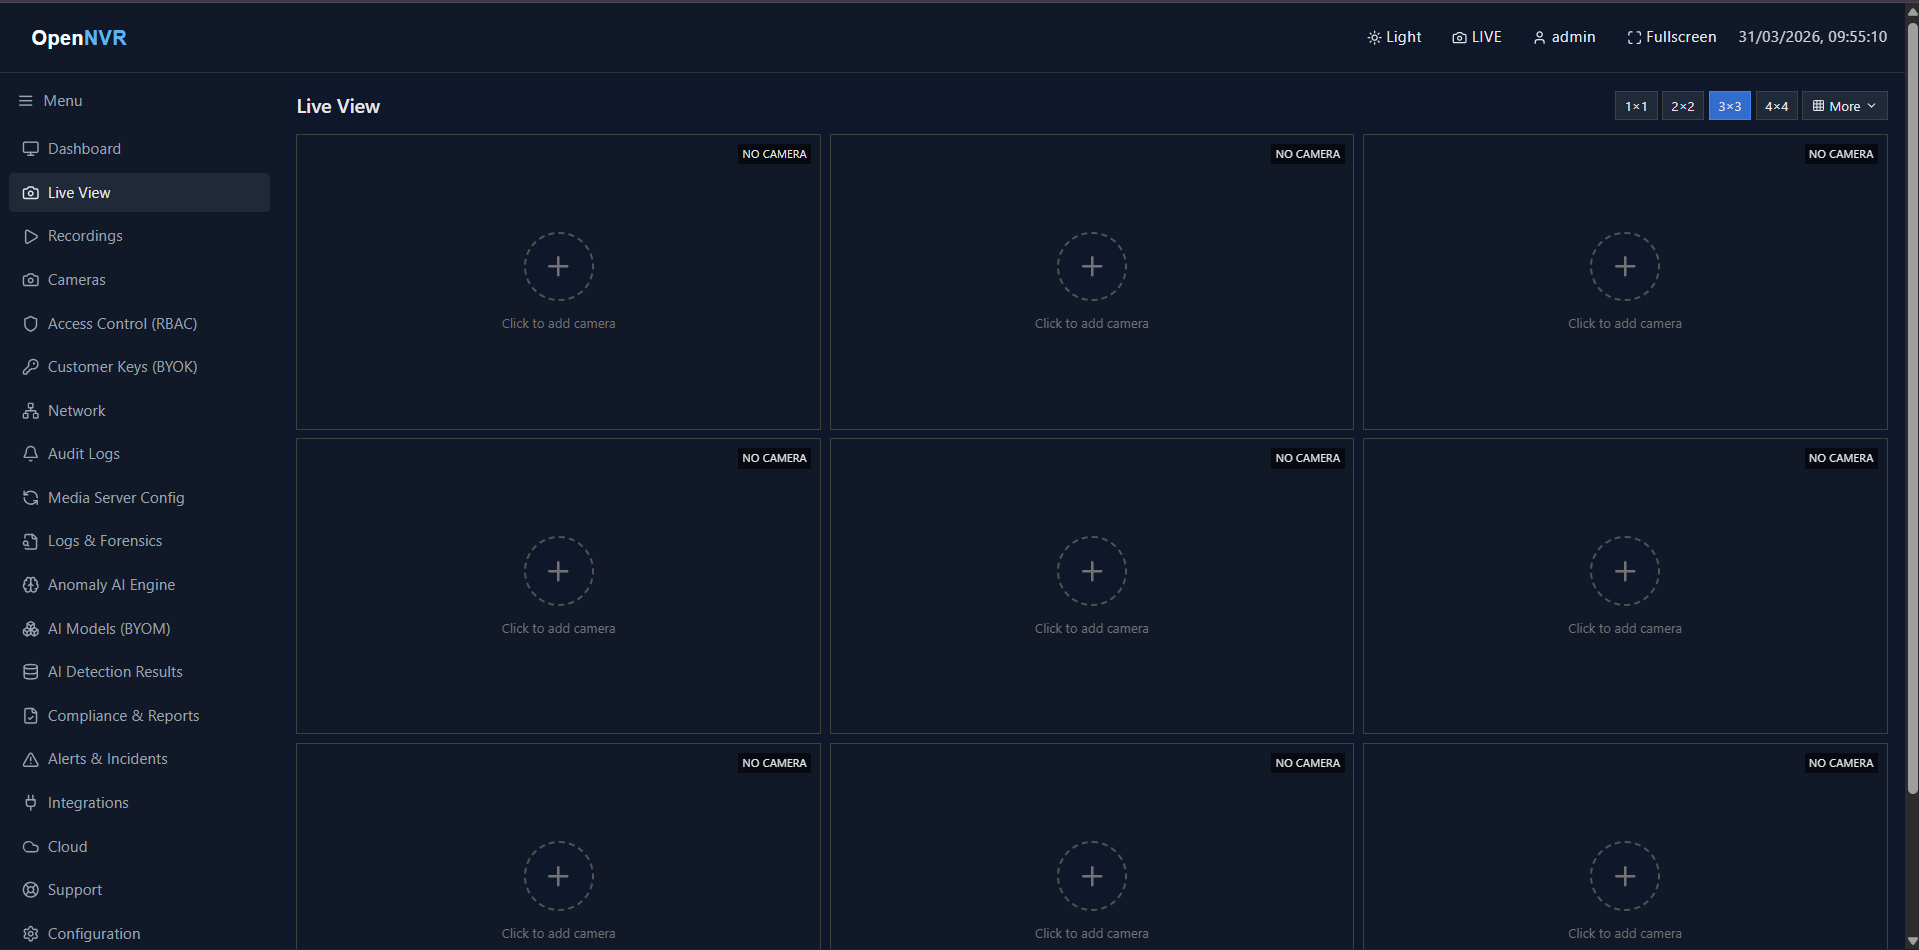
What you can do here
- Arrange cameras in a grid using preset layouts (1×1, 2×2, 3×3, 4×4, plus 1+5, 1+7, 2+8, 1+12, 4+9, 1+1+10).
- Drag a tile onto another to swap camera positions; the order is saved in your browser.
- Add a camera to an empty tile via the Discover / Manual / Existing dialog.
- Pan/tilt/zoom a supported camera with the floating PTZ pad.
- Go Fullscreen for a video-wall view with a hover-reveal toolbar.
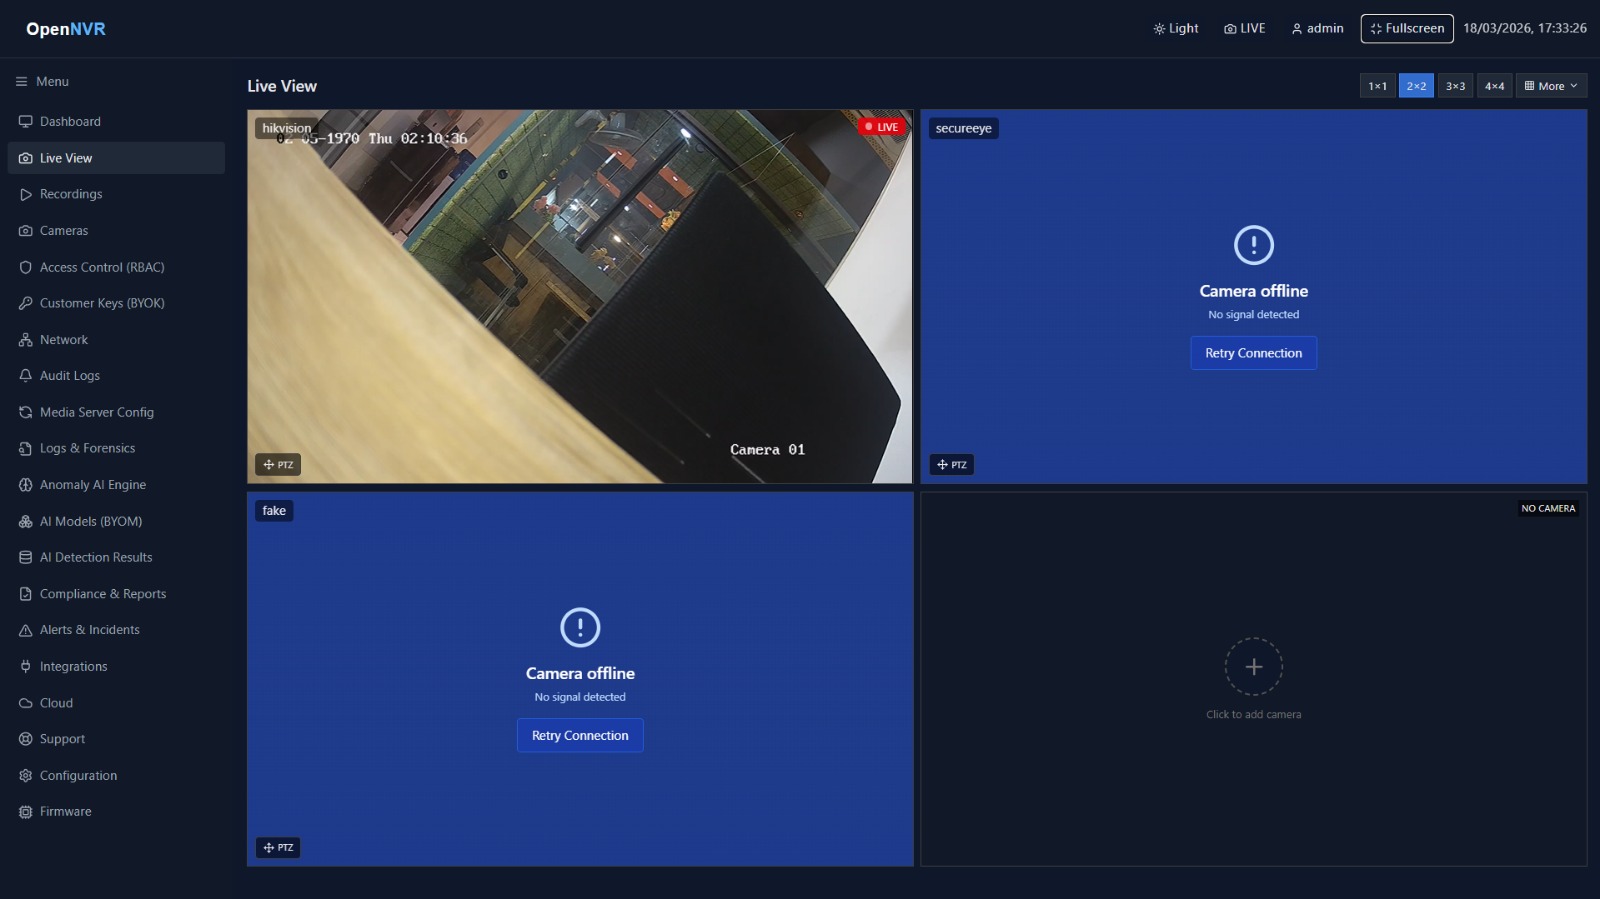
Choose a layout
The default layout is 3×3. Change it from either the header or the bottom toolbar:
- Click a quick-layout button — 1×1, 2×2, 3×3, or 4×4.
- For the multi-size layouts, open the More (grid) dropdown and pick one — each entry lists how many cameras it holds (e.g.
1+5 · 6 cameras). - Cameras fill tiles in order. To rearrange, drag a tile with a camera onto another tile to swap them.
[!TIP] The available layouts (and the default) come from Window Settings. Use ⚙ Configure Layouts… at the bottom of the layout dropdown to enable, disable, or add custom layouts.
Add a camera
Click the dashed + tile (“Click to add camera”) in an empty slot to open the Add Camera to Tile dialog. (The same dialog opens from the Cameras tab’s Add Camera button, titled Add New Camera.) It has up to three tabs: Discover, Manual, and Existing (the Existing tab appears only when cameras already exist).
Discover (ONVIF)
The Discover tab scans your network automatically the moment it opens.
- Wait for the scan — the header shows Scanning network… then Found N camera(s). Click Rescan to run it again.
- Click a discovered camera in the list to open the authentication step.
- Enter a Camera Name (required, e.g.
Front Door, Lobby), then the Username (defaults toadmin) and Password. - Click Connect & Get Stream. OpenNVR authenticates over HTTP Digest and pulls the camera’s stream profiles.
- Pick a Stream Profile from the dropdown (each option shows its resolution, e.g.
Profile1 (1920x1080)). The retrieved RTSP URL and a Device Information block (manufacturer, model, serial, firmware) appear. - Click Add Camera.
[!NOTE] Docker bridge vs. host networking. ONVIF discovery uses a unicast scan of your subnet, so it works even in Docker bridge mode (the default on macOS/Windows) — you do not need host networking. If a scan turns up nothing, the camera may be on a different subnet or a VLAN that blocks the probe; use the Manual tab instead.
Manual
Use Manual entry when discovery can’t reach the camera or you already know its address.
| Field | Required | Example | Notes |
|---|---|---|---|
| Camera Name | ✓ | Front Door |
Label shown on the tile and in lists |
| IP Address | ✓ | 192.168.1.100 |
Camera’s IP |
| Port | — | 554 |
RTSP port; defaults to 554 |
| Username | — | admin |
Camera login |
| Password | — | Camera login | |
| RTSP URL | — | rtsp://192.168.1.100:554/stream1 |
Optional. Leave blank to build the URL from IP + credentials |
The RTSP URL field has a Scan QR button that reads a stream URL from the OpenNVR Cam app. You don’t need to put credentials in the URL — the Username/Password above are added automatically. Click Add Camera to save.
Existing
The Existing tab lists cameras you’ve already added. Search by name and click one to drop it into the selected tile (no new camera is created).
Pan, tilt & zoom
On a tile with a live stream, click the floating PTZ button (bottom-left). A directional pad appears with arrows for pan/tilt, + / − for zoom, and a stop (■) button. Controls are press-and-hold; release to stop.
Fullscreen
Click Fullscreen in the bottom toolbar (or the header) to expand the grid. In fullscreen, move the pointer to the bottom edge to reveal the toolbar, which carries the same Menu, layout, and fullscreen controls.
📸 Screenshots to capture
This page reuses live view page empty .png and live view.jpeg. New shots to add under opennvr-site/public/screenshots/:
liveview-add-discover.png— the Add Camera dialog on the Discover tab after a scan, showing a discovered camera in the list and the Rescan button.liveview-add-discover-auth.png— the Discover auth step: Camera Name, Username/Password, a selected Stream Profile, the Device Information block, and the green Stream URL Retrieved.liveview-add-manual.png— the Manual tab filled in with a name, IP, port554, and an RTSP URL.